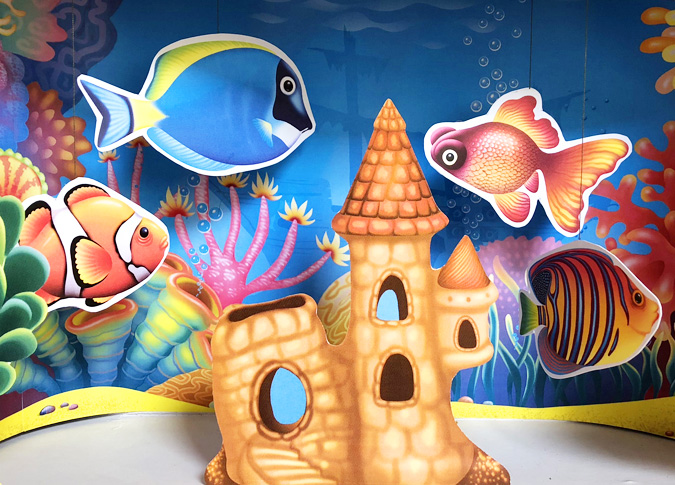
Introducing the new Aquarium design!
Please find below instructions on how to create a realistic ocean diorama – Great for Kindergarten and Schools!

What you will need:
- A box (preferably a shoebox)
- Printable template
- Glue
- Scissors
- Needle and thread
- Toothpick/Skewer
- Plasticine
- Green tissue paper
- Optional Extra: Ocean related decorations or toys.
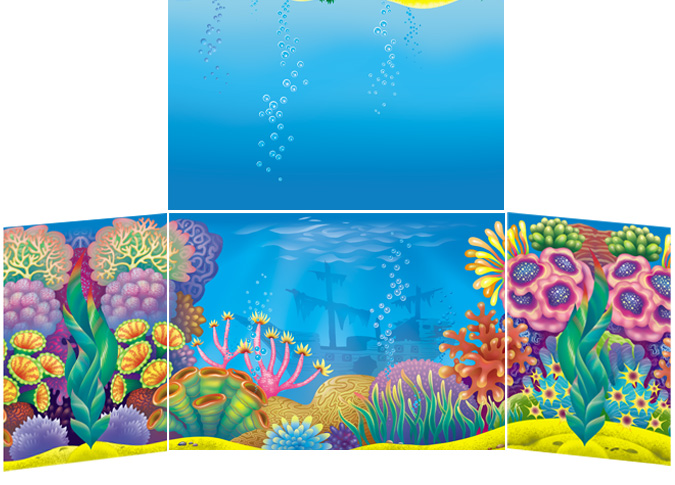
Downloads and print out all the templates in color
https://buylapbook.com/shop/aquarium-ocean-dioramas/
Instructions on how to create a realistic ocean diorama
1. Glue the ocean backgrounds templates inside the box, cutting to size where necessary. You can either apply the back template directly onto the inside of the box, or you can curve in a semicircle for a rounded effect.

2. Next cut and glue the algae at the front edge of the box.
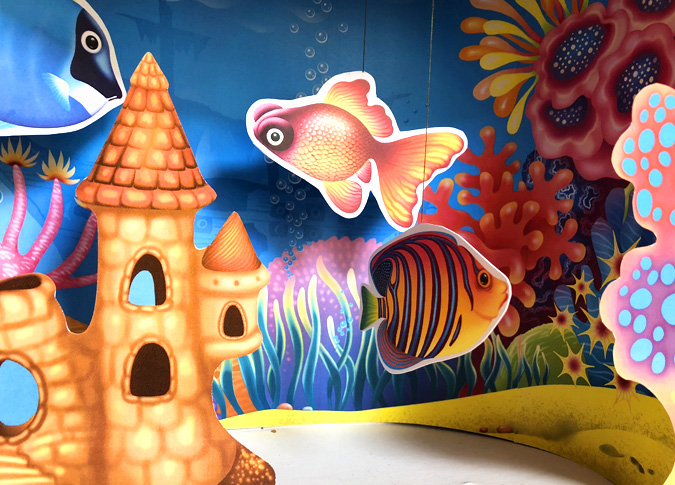
3. Now cut and glue the fish for inside the aquarium. Cut both sides of the fish neatly, and glue together alining the edges. Using the needle, make a small hole in each fish and thread the cotton through the hole. Then attach to the rook of the aquarium s your fish dangle freely. You should aim to have your fish placed at different heights and not touching each other.

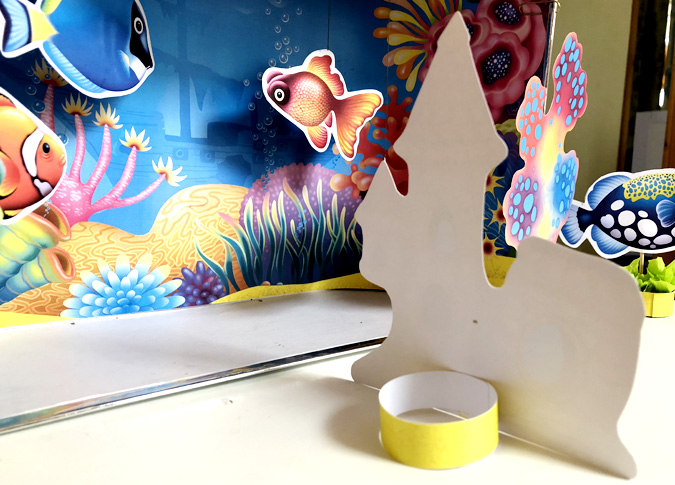
4. The central decoration will be the fish castle. For the castle, you first need to cut it out. Then glue the paper ring at the back, half an inch from the base of the house so it stands freely.

5. The rest of the fish are not attached by a thread. Instead, you will need to first cut both sides of the fish neatly. Then place a cocktail stick between the template in the middle and glue together alining the edges.

Now cut a ring and place inside a piece of plasticine. you can now insert the bottom of the cocktail stick so your fish stands upright in the tube. you can decorate inside each tube using tissue paper.
Your Ocean Diorama is now finished!
You can add to your diorama with any ocean-related objects like sand, shells etc.
