

Purchase Apple Lapbook Here
After payment you will receive a PDF file. In a set of 14 sheets PDF file Print all sheets on plain paper
Assembly Steps
1. Once you purchase the Apple Lapbook at the link above you will get a PDF file.
2. Print the PDF file as 14 separate sheets, all on plain white paper.
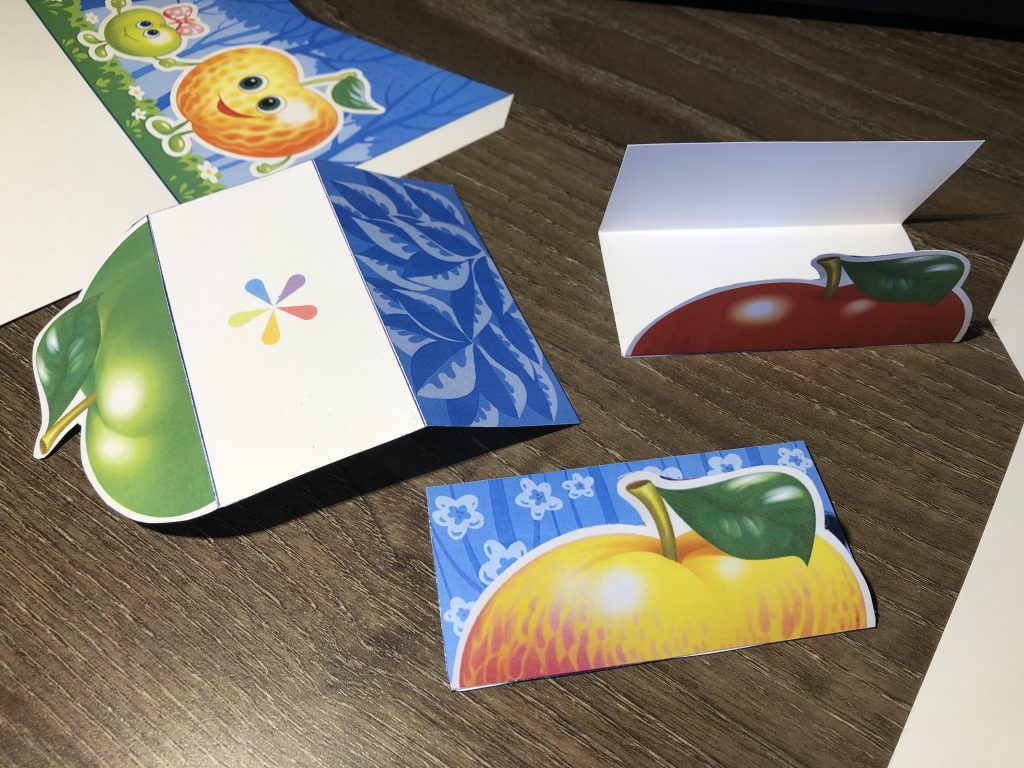
3. Using scissors, cut-out all the details for the Lapbook.

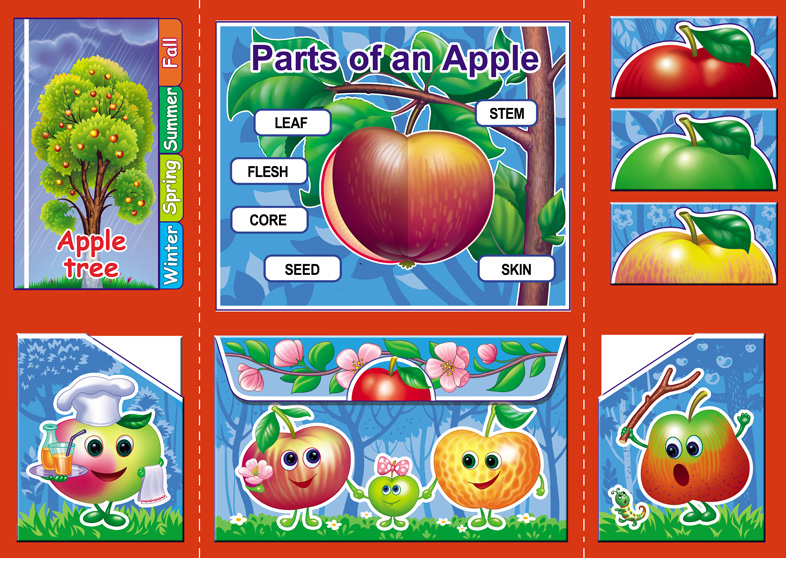
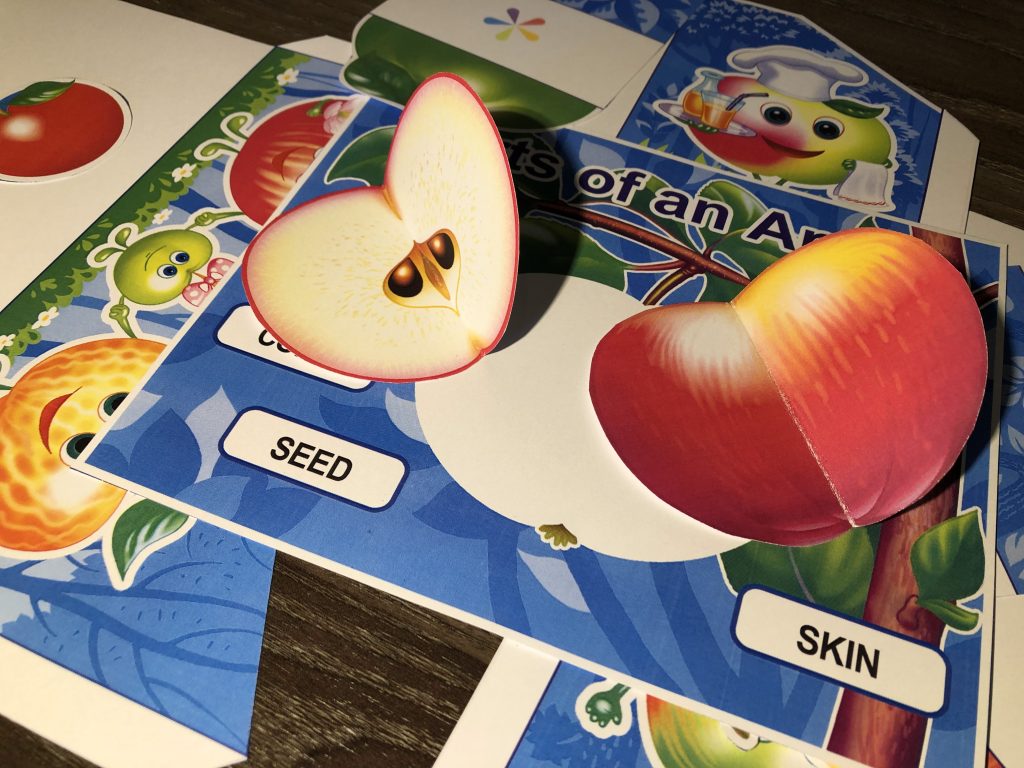
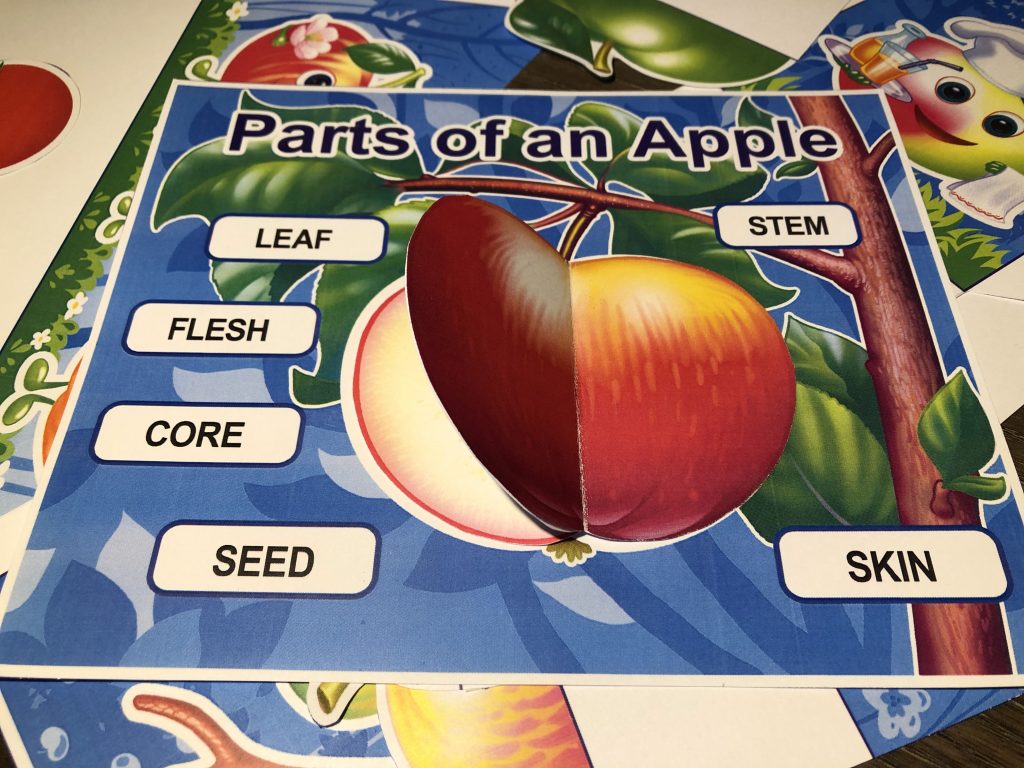
4. Take the picture of the detailed apple, fold it in half and glue half of it to the center of the picture in, “Parts of an Apple,” so that it is attached but has a flap that can be lifted to simulate, “Opening-up,” the apple.
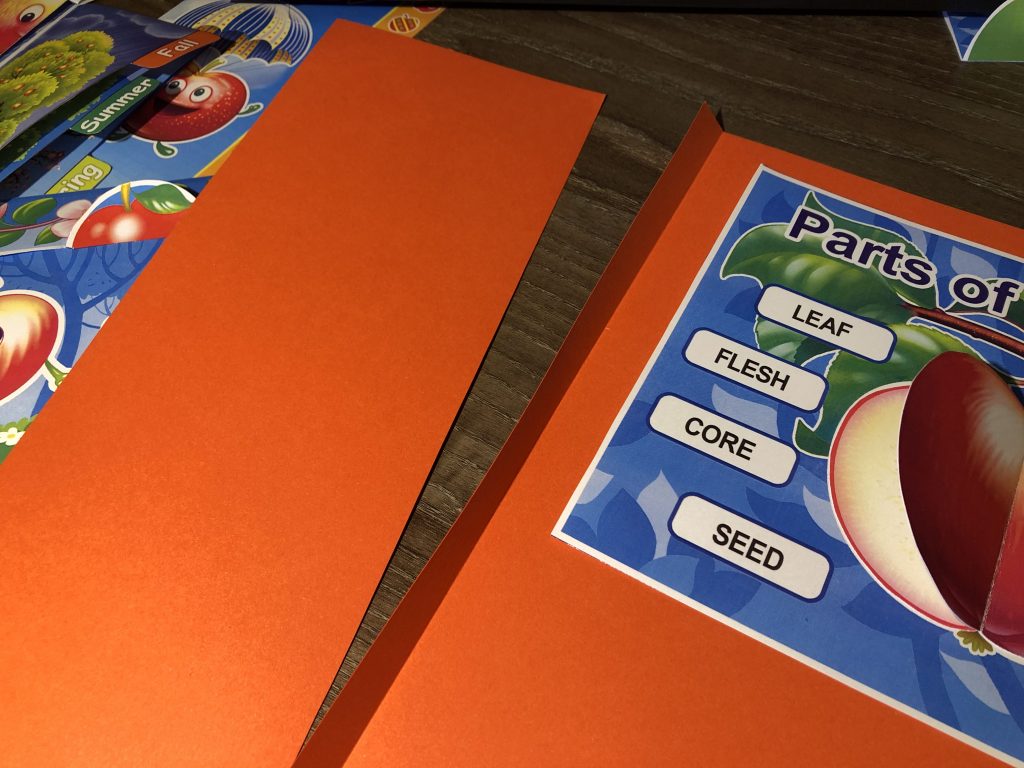
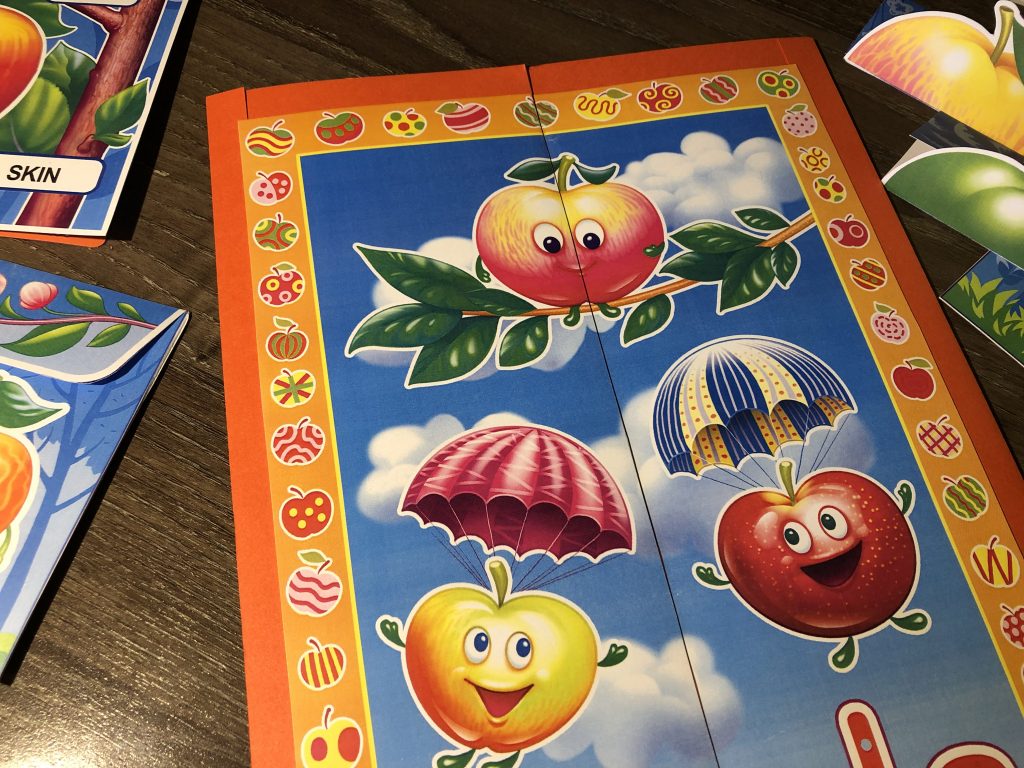
5. You will now be attaching parts of the Lapbook to the main foundation/basis for everything. You will need a ready-made cardboard folder or can make a cardboard folder of your own from colored cardboard, if you wish! To make you own simply take 3 sheets of colored cardboard. One is the central sheet, the second sheet is cut in half to serve as the side flaps, and another sheet will be used to create the narrow strips needed to make hinges when gluing the central sheet and its sides together.
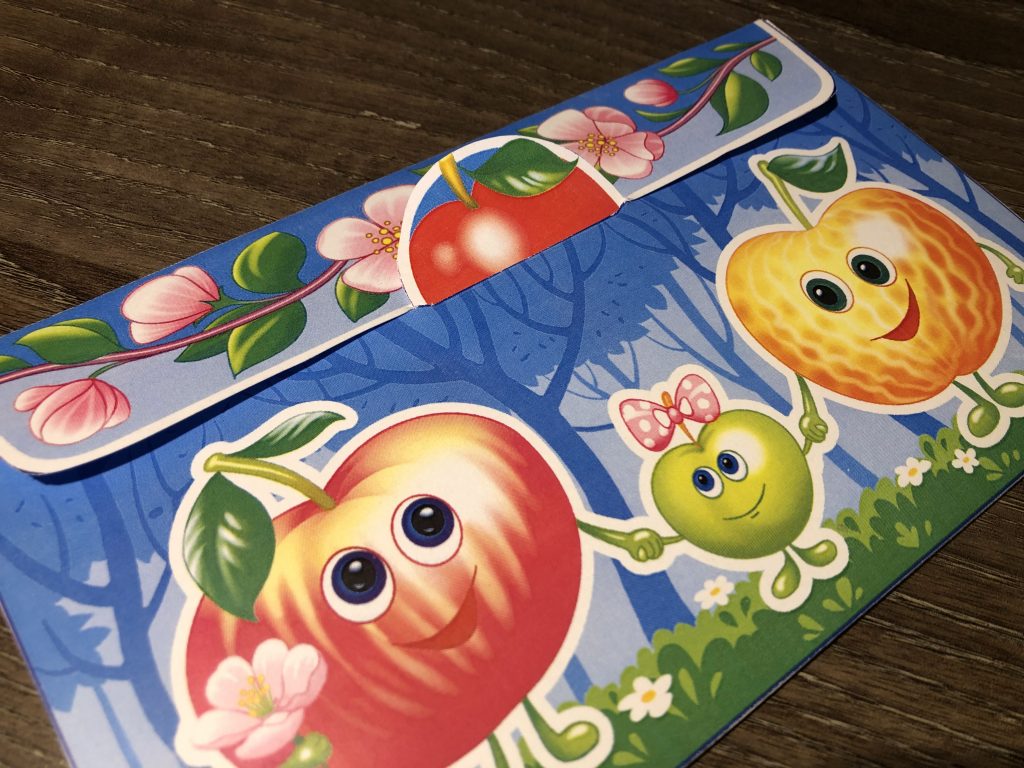
6. On the reverse of the flaps (the outer-side) glue the cover to the Lapbook as when it is, “Closed,” this is the image that will be seen.
7. Within the interior of the Lapbook glue all the pockets and details as picture shows.
8. Your Lapbook is ready! You can put ready-made cards in the pockets now with everything from apple-based recipes, to games and tasks for children!